
Installing a farmhouse sink is one of the most impactful upgrades you can make to a kitchen. Also known as apron-front sinks, these statement fixtures require careful planning, proper support, and the right installation method to ensure long-term performance.
This updated Farmhouse Sink Installation Guide covers everything you need to know in 2026, including how to install a farmhouse sink, retrofit vs new build installations, cabinet support requirements, and real-world installation tips used by professionals.
Wondering how to install a farmhouse sink correctly? Start here.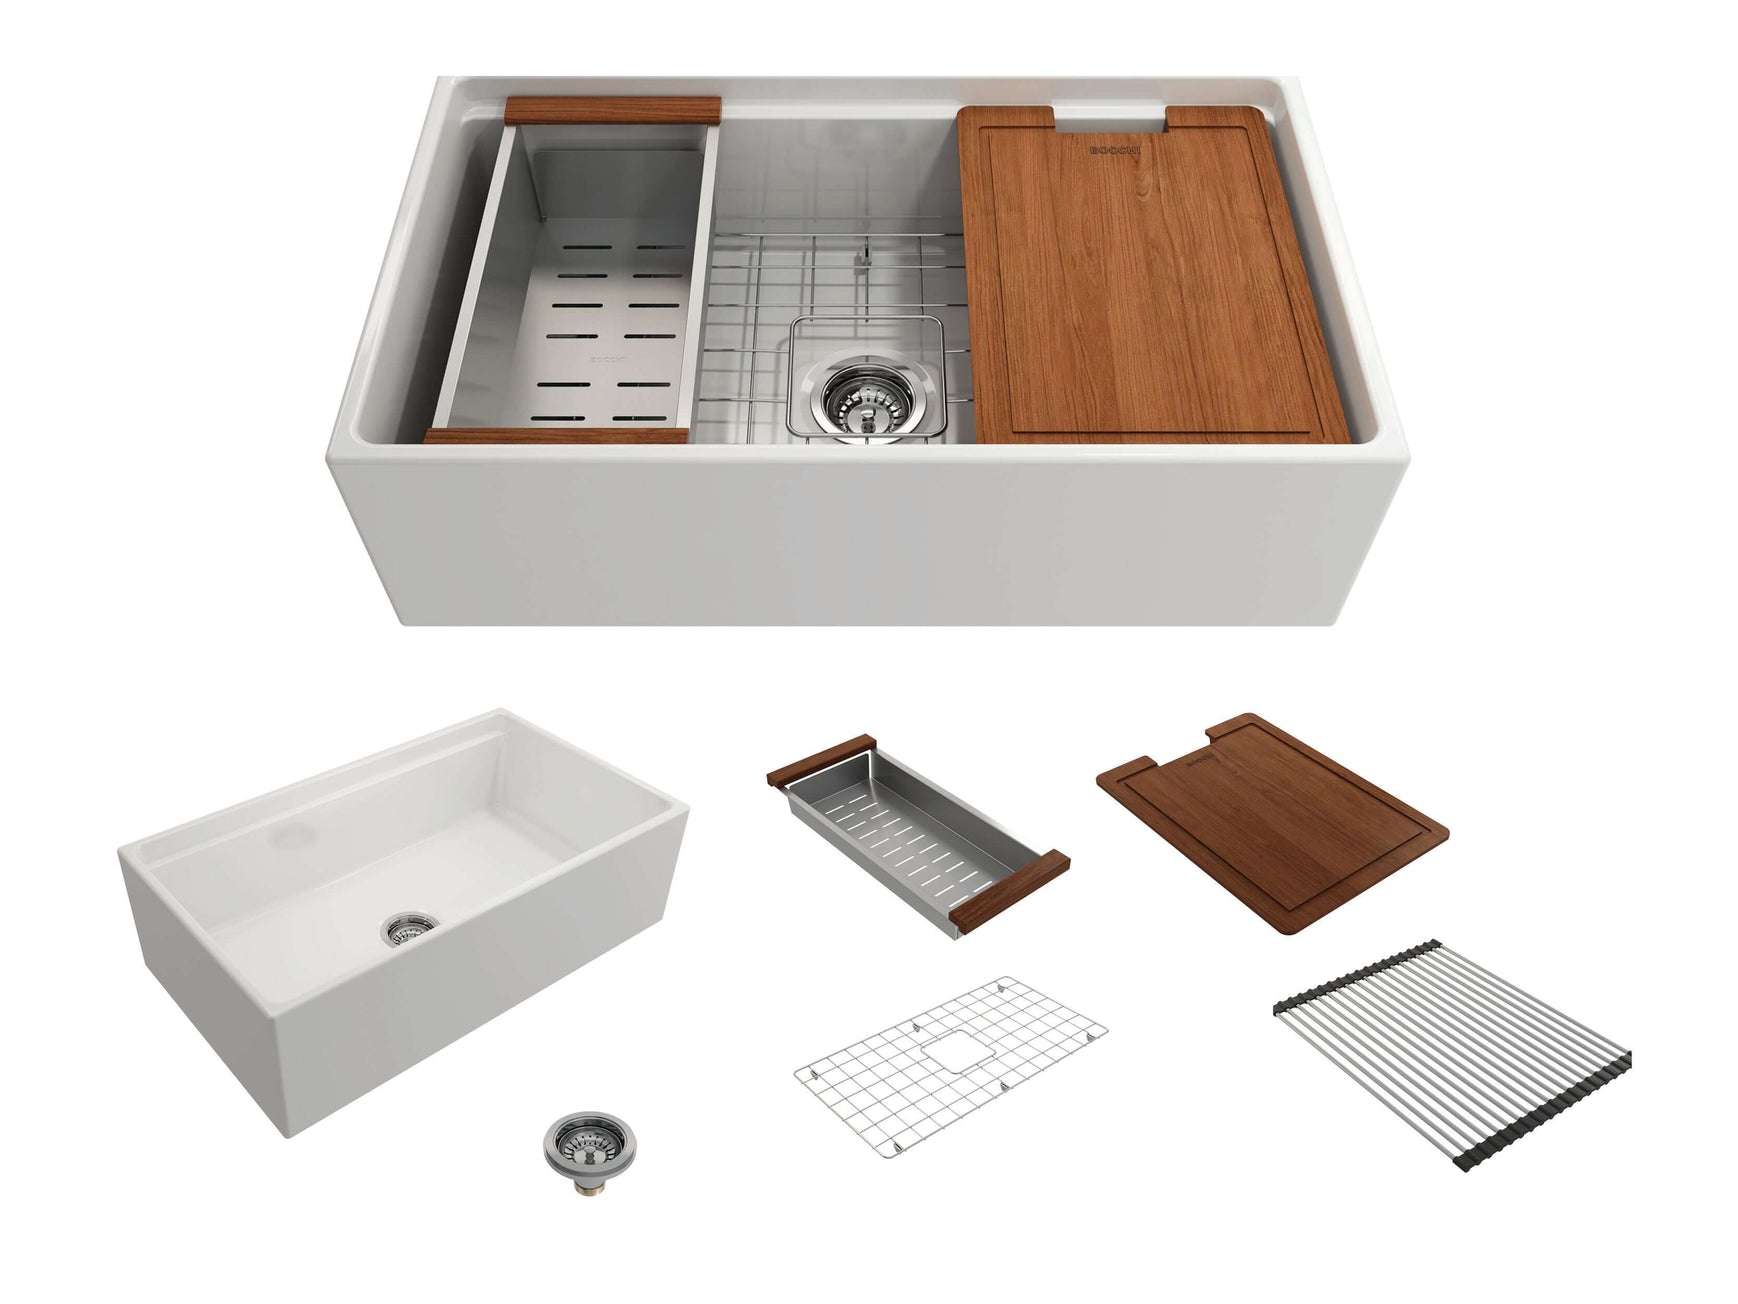
Bocchi Fireclay Farmhouse Sink available at The Sink Boutique
Tips Before Installing a Farmhouse Sink
- Order your sink early. Fireclay and stone farmhouse sinks frequently have lead times of 4–6 weeks. Shop farmhouse sinks.
- Inspect immediately on delivery. Inspect for damage and keep the packaging until installation day.
- Account for weight. Fireclay, stone, and concrete sinks can exceed 200–300 lbs when filled. Cabinets must be reinforced accordingly.
- Wait to cut cabinets. Fireclay sinks vary up to 2% in actual size. Always measure the physical sink before cutting.

Farmhouse Sink Cabinet Size & Clearance (General Guidelines)
One of the most common farmhouse sink installation mistakes is choosing a sink that does not match the cabinet opening. Farmhouse sinks do not follow universal sizing standards, so verifying cabinet compatibility before cutting is critical. Here is a detailed farmhouse sink cabinet size requirements guide.
| Sink Width | Minimum Cabinet Width (Interior) | Recommended Installation Notes |
|---|---|---|
| 24–27 inch | 30-inch cabinet | Ideal for compact kitchens and retrofit installations |
| 30 inch | 33-inch cabinet | Most popular size for fireclay farmhouse sinks |
| 33 inch | 36-inch cabinet | Requires a reinforced cabinet base and front rail |
| 36 inch+ | 42-inch cabinet or custom | Best suited for new builds or fully custom cabinetry |
These cabinet sizes are general planning guidelines. Always defer to the sink manufacturer’s specification sheet for minimum cabinet width and support requirements, especially for fireclay and cast iron farmhouse sinks.
Important: Fireclay farmhouse sinks can vary by up to 2% in actual dimensions. Always measure the physical sink on delivery before cutting cabinets or countertops.
Farmhouse Sink Cabinet Sizing (Do You Need +3 Inches?)
Short answer: Not always. The idea that a cabinet must be 3 inches wider than the sink is a simplified rule of thumb that mainly applies when retrofitting an apron-front (farmhouse) sink into a standard sink base or working with older cabinetry.
If you’re using a purpose-built farmhouse (apron-front) sink base cabinet, the cabinet is typically designed to support the sink’s weight and align with an apron-front installation. In that case, the cabinet does not need to be automatically oversized by 3 inches.
What matters most (instead of rules of thumb)
- The sink manufacturer’s spec sheet/cut sheet (this overrides any generic guideline)
- Interior cabinet width (not just the nominal cabinet size, e.g., “36-inch base”)
- Apron reveal style: flush, proud, or recessed (each changes how the front apron sits)
- Sink material and weight: Fireclay and cast iron often require extra support and planning
Practical guidance
- Standard sink base (retrofit): You may need extra clearance and cabinet modifications; this is where “oversize the cabinet” advice often comes from.
- Farmhouse sink base cabinet: These are designed for apron-front sinks and are usually sized to match the sink width based on the manufacturer’s requirements.
For farmhouse sink base cabinets, the correct cabinet size is determined by the interior opening and structural support design, not by adding a fixed clearance number.
Pro tip: Always confirm the recommended cabinet size in the sink’s specification sheet before ordering, especially for fireclay farmhouse sinks, where dimensions and support requirements are more exact.
If you’d like, share your sink model and cabinet size (or the spec sheet), and we can sanity-check compatibility before you install.
Types of Farmhouse Sink Installation
- Flush Mount: Sink edge sits flush with countertop.
- Built-Up: Sink sits slightly above the countertop.
- Undermount: Sink sits just below the countertop (recommended for fireclay).

Some sinks are designed specifically as topmount/drop-in farmhouse sinks, while others are retrofit farmhouse sinks.
Retrofit vs New Build Farmhouse Sink Installation
This guide assumes a farmhouse-ready cabinet. If you are starting from a standard drop-in instead, the cabinet and counter need to be reworked first. We cover that conversion in how to replace a drop-in sink with a farmhouse sink.
Retrofit Installation
Designed for existing cabinets. Minimal structural changes.
Shop retrofit farmhouse sinks →Video: Bocchi Retrofit Farmhouse Sink Installation
Tools & Materials Needed

- Drill, level, tape measure
- 2x4 support framing
- Silicone sealant
- Undermount support kit (if applicable)
Step-by-Step Farmhouse Sink Installation
This step-by-step farmhouse sink installation process applies to both new builds and retrofit installations. Always follow manufacturer-specific instructions in addition to these general best practices.
Step 1: Prepare the Cabinet and Plumbing Area
Before installing a farmhouse sink, the cabinet area must be completely cleared and plumbing safely disconnected. Proper prep prevents alignment issues and water damage later.
- Shut off the hot and cold water supply valves inside the sink base cabinet
- Disconnect faucet lines, drain assembly, and garbage disposal (if present)
- Remove the existing sink and clean the cabinet interior thoroughly
- Remove cabinet doors, drawers, and false panels for unobstructed access
Installer tip: Keep a bucket and towels nearby when disconnecting the P-trap to catch residual water.
Step 2: Build a Proper Support Frame
Farmhouse sinks must be supported from below. Fireclay, stone, and concrete sinks can weigh 200–300 lbs when filled, making structural support essential. View support kit.
- Construct a level 2×4 support frame inside the base cabinet
- Ensure the frame transfers weight vertically to the cabinet floor
- Allow clearance for drain plumbing and garbage disposal connections
- Confirm support height matches your installation type (flush, built-up, or undermount)
Retrofit note: In older cabinets, remove the cabinet floor and replace it with a reinforced plywood load platform.

Professional Support & Load Guidance
Farmhouse sink failures are most often caused by improper load transfer, not the sink itself. A filled fireclay or stone farmhouse sink can exceed 300 pounds, and that weight must be supported correctly.
- Vertical load transfer is essential. The sink’s weight must rest on a solid support frame or cabinet base that transfers weight downward — not just side walls.
- Side-wall mounting alone is insufficient. Cabinet walls are not designed to carry sustained vertical loads and may sag or separate over time.
- Use full perimeter framing when possible. A 2×4 support frame under the sink base is the most reliable method for fireclay and stone sinks.
- Undermount support kits are acceptable only when rated for the sink’s weight and installed per manufacturer guidelines.
Installer tip: If the cabinet floor is removable or weak, add a plywood base panel beneath the support frame to distribute weight evenly.
Step 3: Measure and Cut the Cabinet Front
The cabinet front must be cut precisely to match the apron-front profile of the sink. Small measurement errors are difficult to correct later.
- Use the actual sink as a template instead of relying on spec sheets
- Mark apron reveal carefully based on the desired visual exposure
- Create a paper or cardboard template to match angled apron profiles
- Dry-fit the sink before final trimming
Important: Fireclay sinks can vary slightly in size, so cabinet cuts should always be made after the sink arrives.
Step 4: Set, Level, and Secure the Sink
Correct leveling ensures proper drainage and a clean countertop seam. This is one of the most critical installation steps.
- Lower the sink carefully onto the support frame
- Center the sink within the cabinet opening
- Check level front-to-back and side-to-side
- Use shims where necessary to achieve perfect alignment
Plumbing tip: Install drain fittings and garbage disposal flanges before the countertop is placed for easier access.
Step 5: Install the Countertop
Countertop installation should be completed after the sink is fully supported and aligned. Stone countertops require professional handling.
- Trace the sink cutout using the installed sink as a reference
- Confirm the reveal dimensions before cutting the countertop
- Seal the sink-to-counter seam with waterproof silicone
- Allow sealant to cure fully before reconnecting plumbing
Best practice: Never force a countertop into position if alignment is off — recheck sink level first.
Step 6: Finish Cabinet Front and Reinstall Hardware
Once the sink and countertop are secure, the cabinet face can be finished to complete the installation.
- Reinstall cabinet doors, drawers, or decorative apron panels
- Trim or modify doors if required for clearance
- Reconnect plumbing and test for leaks
- Run water and verify proper drainage
Design option: For vintage or budget-friendly installs, a curtain panel can replace cabinet doors beneath the sink.
More Farmhouse Sink Installation Videos
Ready to install your sink? Browse our complete Farmhouse Sink Collection.
Final Thoughts
With the right planning, cabinet reinforcement, and installation method, a farmhouse sink can be installed safely and last for decades. Whether you are retrofitting an existing cabinet or building from scratch, following these steps ensures success.
Browse our full collection of farmhouse kitchen sinks or visit our Kitchen Sink Buying Guide.
Like This Article? Pin it!


7 comments
Robert
I purchased a fireclay farmhouse sink from The Sink Boutique for a client remodel and used this installation guide during the process. It was genuinely helpful, especially the sections on cabinet support and retrofit vs new build installs.
The weight considerations and leveling tips were spot on, and having clear steps saved time on-site. My client is thrilled with the final result, and the sink fit perfectly once we followed the measurement advice in the guide.
I’ve installed several apron-front sinks over the years, and this is one of the more practical, real-world guides I’ve come across. Would definitely reference it again on future projects.
Anaheim Bathroom Remodel
Great article! Installing a farmhouse sink can add a beautiful and functional element to a kitchen with a rustic or traditional design style. The process of installing a farmhouse sink involves measuring the sink and cabinet, making any necessary modifications to the cabinet, and securing the sink to the countertop. It’s important to carefully follow the manufacturer’s instructions to ensure that the sink is properly installed and sealed to prevent any water damage. With some basic plumbing skills and a few tools, the installation of a farmhouse sink can be a manageable DIY project for homeowners looking to enhance their kitchen’s aesthetic appeal.
Sherita Silvers
To the thesinkboutique.com webmaster, Your posts are always informative.
Taylor Abrams
I had no idea that, due to size similarities and the ability to just slip it in after removing the old sink, most farmhouse sinks, also known as apron-front sinks, could readily replace your present kitchen sink. This is helpful to know since I want to renovate my kitchen next month. I feel like it’d be great to do that so I’ll make sure I hire a good sink installation drainage service. https://newpipeplumbingfl.com/sink-drainage
Carl
Great information for older cabinets and none farmhouse sink cabinets.
Is there help for those of us who are considering farmhouse sink installation with a farmhouse sink cabinet.
Does the cabinet need to be three inches larger width than sink?
baidon
Get all the needed tools available and be very careful while working with the woods or any other tools. There is however some farmhouse sink that has a recess between the body of the sink and the frontal overhang.
Measure the overhang and if its ¾ inch of more does not bother cutting off the ¾ piece on the face frame of the cabinet and as such, the recess of the farmhouse sink will be positioned on it.
baidon
I have read your article a few times. Liked it very much. I read another article and your article is very good from that article. However, his image is good.