Transforming your kitchen with a farmhouse sink undoubtedly adds that coveted "wow" factor to your home. Yet, achieving the perfect look can be a daunting task due to the unique nature of farmhouse sink installations. Fear not! Our comprehensive farmhouse sink installation guide is here to demystify the process and equip you with the knowledge you need to bring your vision to life seamlessly.
From selecting the right farmhouse sink to tackling the intricacies of installation, we've got you covered every step of the way. Whether you're embarking on a new kitchen build or undertaking a remodeling project, understanding how to install a farmhouse sink is essential to ensuring a smooth, stress-free experience.
With expert insights, practical tips, and clear, step-by-step instructions, this guide empowers you to tackle your farmhouse sink installation with confidence.
So, if you're ready to elevate your kitchen aesthetics and master the art of farmhouse sink installation, dive into our guide and unlock the secrets to success. Let's make your kitchen transformation journey a breeze, one farmhouse sink at a time.
Wondering how to install a farmhouse sink in your kitchen? Read on.

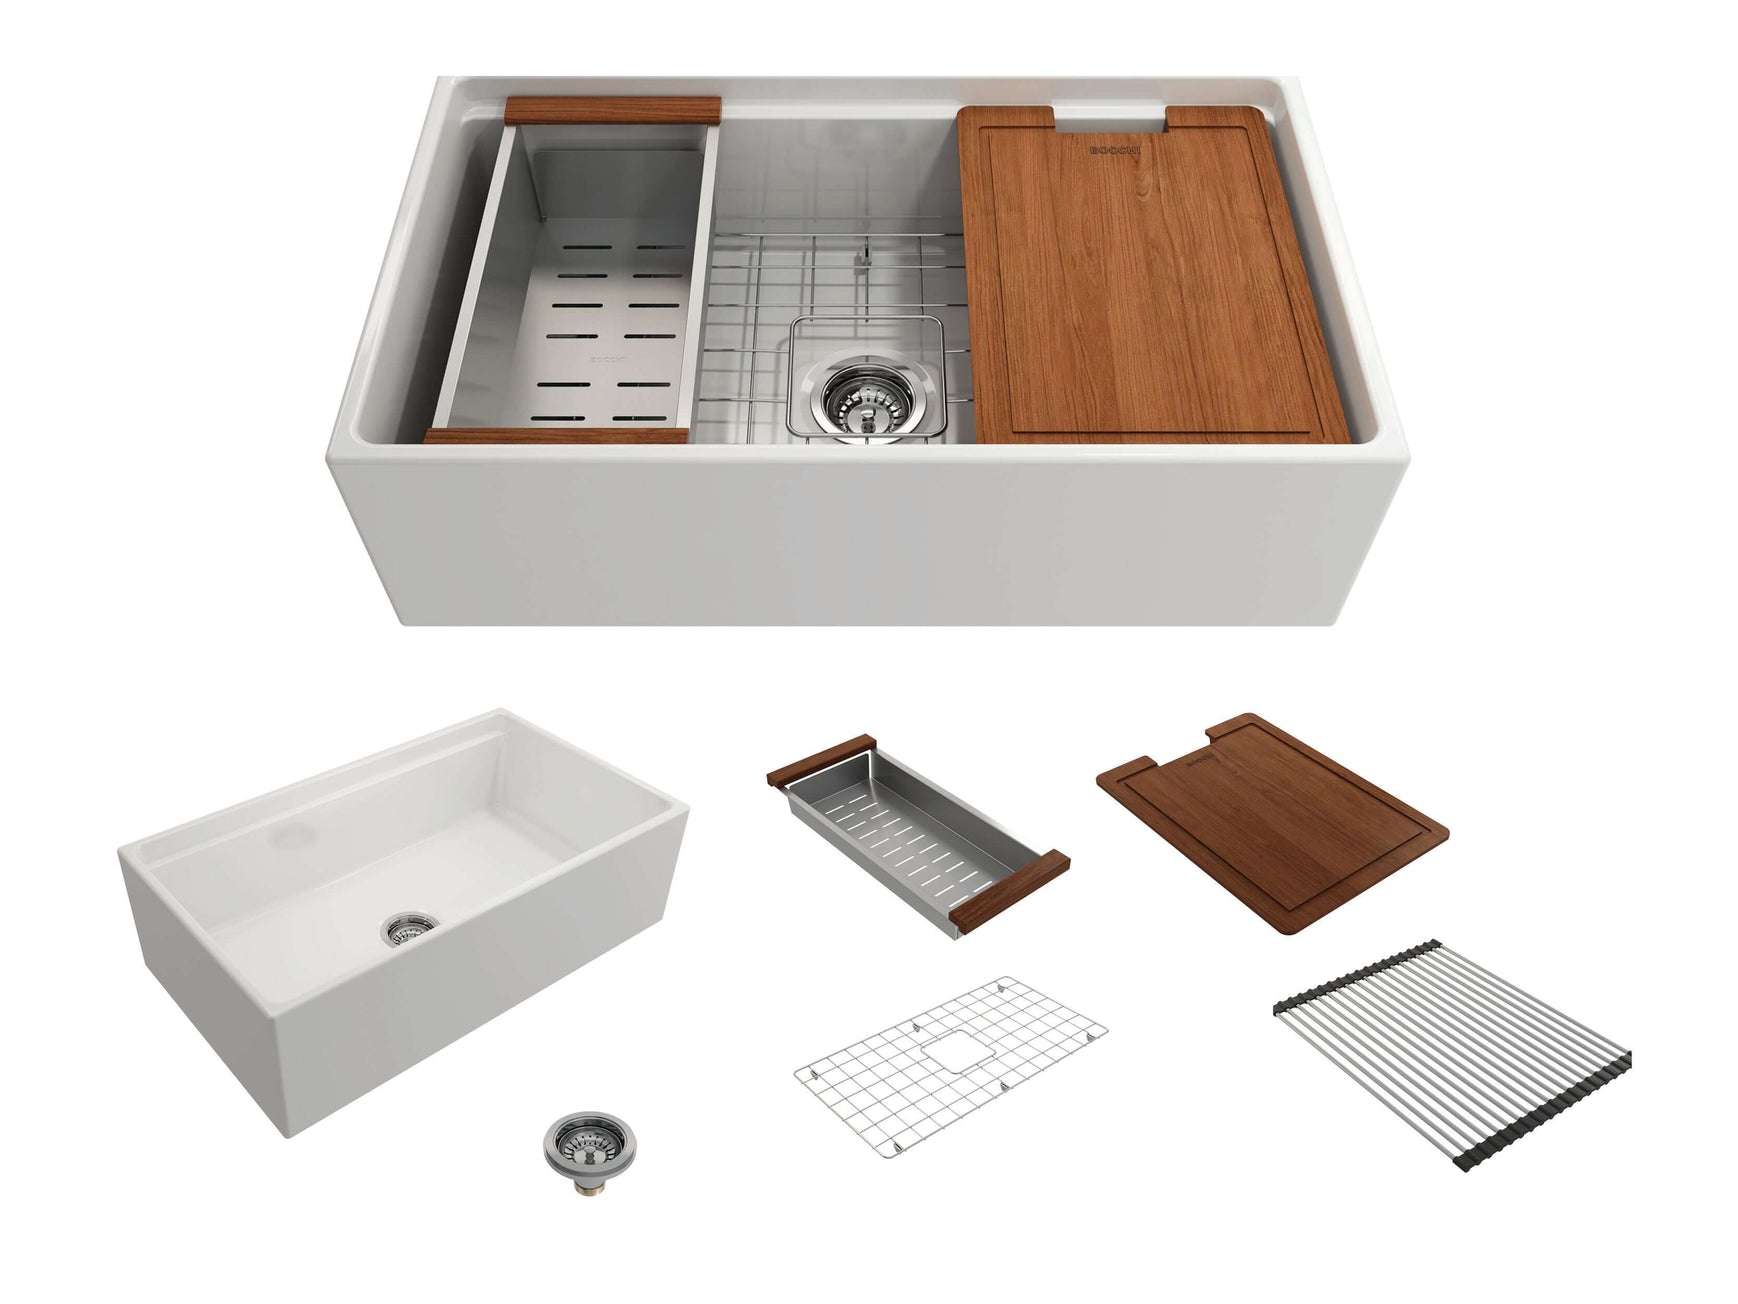
The Bocchi Fireclay Farmhouse Sink is available in many sizes at The Sink Boutique
The Ultimate Farmhouse Sink Installation Guide:
- Tips before installation
- Types of Farmhouse Sink Installation
- Tools and Materials needed for installation
- The 6 easy steps to installing a farmhouse sink
- Videos on how to install a farmhouse sink
Tips before Installation
Most farmhouse sinks also commonly known as apron-front sinks can easily replace your current kitchen sink owing to the similarities in size and the option to just slide it in after removing the old sink. However, closed counter cabinets would require some more time and effort. Here are a few "good to know" tips before you get into installing a farmhouse sink that will help you or a loved ones who prefers aging in place with your kitchen renovation:
- Order your farmhouse sink early since they are extremely popular. The sinks can sometimes be on back-order for close to 4-6 weeks. You don't want to have contractors lined up and no sink. Furthermore, in case of a damage or any other issue you will have time to get a replacement sink.
- As soon as you receive the sink and prior to farmhouse sink installation, unpack the new sink and inspect it for damage. Return the sink to its protective carton until you are ready to install it. In case of a damage please contact us immediately so a replacement can be sent out.
-
Check the weight of the sink. Stone, concrete and fireclay farmhouse sinks can be very heavy and when filled with water can weigh around 300 pounds. Make sure you order or build out base cabinets that can support the weight. Furthermore, you might need additional assistance to lift the sink.
- After receiving the sink, check for any special instructions or precautions documented in the manufacturer's guide. These special instructions will give you a better idea of the nuances of installing a farmhouse sink that is specific to a manufacturer.
- Check the size of the farmhouse sink. Not all sinks are made equal! There is no typical size when people choose a sink. Make sure that the new sink can fit in the existing space. Larger or smaller sinks might require extra work. See image below. The recommended base cabinet (interior width A) needs to be 3" more than the size of the sink (width B). If your sink’s size has a vast difference with respects to your cabinet, you might need professional help to install it. Special note about Fireclay Farmhouse sinks: The actual dimensions of fireclay farmhouse sinks can vary by about 2%. It's best to wait to have the sink on hand before cutting the cabinet.

Types of Farmhouse Sink Installation
A farmhouse sink installation can be done in 3 ways:
- Flush mount Installation: Where the sink sits in level to the countertop.
- Built-up Installation: Where the sink sits above the level of the countertop.
- Undermount Installation: Where the sink sits just below the countertop.
An undermount installation is recommended for a fireclay farmhouse sink.

Note:
- Some Farmhouse Sinks specially come as a Topmount/Drop In Farmhouse Sink. Here is a collection of Bocchi Nuova sinks that are for Topmount/Drop In Installation only.
- There are also Retrofit Farmhouse Sinks that have a different installation process. Please make sure to read through the installation guide of the specific sink for more guidance.
Tools and materials needed for installation
Here are the tools and materials to keep handy for your farmhouse sink Installation.

- Drill
- Hacksaw
- Framing Square
- Level
- Tape Measure
- Pencil
- Safety Glasses
- Silicone Sealant
- Support Frames
- Wood Braces
- Screws
The 6 easy steps to installing a farmhouse sink
Now that you have reviewed the tips, decided on the type of installation and gathered the tools and materials required for installing a farmhouse sink, you can start the installation processing by following the steps below.
Note that due to the variety of installations possible with a farmhouse style sink, you may need to use procedures other than those described below.
STEP 1: PREP THE KITCHEN CABINET AREA
Turn off the water lines. These are two valves placed inside the base cabinet under the sink. Disconnect the other fittings and slowly remove the water lines. Then remove the drainpipe under the sink. If water is trapped in the P-Trap, hold a towel or a bucket under it. Ensure to observe all local plumbing codes.
Start removing all the contents from the cabinet and then remove the lower cabinet drawers and doors. Next, you have to remove the screws in the base cabinets that hold the countertops to the cabinetry. Cut through the silicone beads with a knife to lift the countertops. Just two people can remove lightweight countertops but if it is made of heavy marble or stone, you may require additional help.
STEP 2: BUILD THE CORRECT SUPPORT FRAME
As we mentioned earlier, farmhouse sinks are generally heavy, especially stone, concrete and fireclay farmhouse sinks. Your previous sink might not have needed support frames due to weight and other factors.

Due to the custom nature of the fireclay farmhouse sink installation, no cut-out template is provided. The actual sink is used as the template to trace, measure and mark before making any cut-outs.
- Use a pencil to mark the inner walls of your cabinet where the base of the sink will sit and mark the height taking into account the installation type. The frame that you build for this sink is of 2x4s to support the weight of at least 300 lbs. The support ledge can be installed along the back and both sides of the cabinet. If additional support is needed, four vertical 2x4 supports can be installed. Make sure that the 2x4 frame is a tight fit behind the cabinets because you have to mount a trim board to this frame.
- If you want to save space, screw the 2x4 frames to the sides of the cabinets. For sinks under 100 lbs, you can also mount an under-mount installation kit (Model #: ABUMSB) to the inner sidewalls of your cabinet. You can put plywood on the rods to create a large smooth flat surface and drill the necessary drain holes. Note: Native Trails Farmhouse Sinks have their own Undermount Installation Kit.
- For the recommended under-mount installation, the sink needs to sit slightly under the countertop.
- Verify the measurement from the top of the cabinet to the bottom of the sink opening is greater than the height of the opening.
- Locate and cut out the drain outlet clearance hole in the support. The hole diameter must clear the garbage disposal mounting system if used.
The base cabinet should be installed, secured, plumbed and level. Allow clearance for the water supply line and drains or garbage disposal.
STEP 3: MEASURE AND CUT THE CABINET FRONT
- Carefully measure and mark the front of the cabinet where your new farmhouse sink will fit allowing for any reveal before making the final cuts. We recommend making a template with heavy paper so that your cabinet front is cut at the same angle as the sink. Some sinks taper slightly hence it's important that the cutout is precise.
- The cabinet opening should be equal to the maximum sink/apron dimensions to ensure a minimum gap between the sink and the cabinet
-
If you have a false panel (the fake drawer under the old sink), remove it by pulling away from the spring clips. Save the false panel, it is handy and will be used as a trim board later.
-
If necessary, adjust the opening by sanding the opening or adding wood filler strips or spacers.
STEP 4: LEVEL AND INSTALL THE FIRECLAY FARMHOUSE SINK
- Carefully position the sink within the frame, making sure to center the sink in the cabinet.
- Level the sink to ensure it is straight on the bottom and top. It should be even on all sides so that water drains out properly and the outlook is not shabby. Use shims to level the sink if needed.
- Install the basket strainer and/or disposal flange using plumber putty. TIP: Do not over-tighten the drains as this could damage your sink. Make a watertight seal between the sink and the drain using plumber putty.
- Apply sealant if necessary as a gasket between the sink and cabinet. Install the plumbing fixtures and garbage disposal, and connect the drain pipes per the manufacturer's instructions.
STEP 5: INSTALL THE COUNTERTOP
This would require professional help since the size of the countertops may change or you might need to get a new countertop to adjust with the newly installed sink. You will need to use the sink upside down to trace the cut out of the countertop and use precise measurements.
Use a silicone sealer to seal all edges of the sink to the countertop to prevent water from leaking into your cabinet.
STEP 6: INSTALL THE CABINET FRAME AND DOORS
The new opening size of the cabinet under the sink would be different from your original cabinet if you are using an existing cabinet. You can build new cabinet doors and install them.
- Remove all hardware such as screws, pulls, hinges from the doors and cut them as per the measurement. You might need some skills in using a circular saw and drawing up measurements to get this job done.
- Once the doors are complete, install them back to the front cabinet and voila, the main job is done.
Don't want to build new cabinet doors? You can use a curtain to cover the open area below the sink. This will save you time and money and still give you a nice vintage chic look.
You are now ready to enjoy your farmhouse kitchen sink for years to come! Check our website for other resources and farmhouse sink styles.
Videos on how to install a farmhouse sink
Need more clarity? Here are some farmhouse sink installation videos from our suppliers that can help you. Enjoy!
Bocchi Farmhouse Sink Installation Video
LaToscana Farmhouse Sink Installation Video
Like This Article? Pin it!


5 comments
Anaheim Bathroom Remodel
Great article! Installing a farmhouse sink can add a beautiful and functional element to a kitchen with a rustic or traditional design style. The process of installing a farmhouse sink involves measuring the sink and cabinet, making any necessary modifications to the cabinet, and securing the sink to the countertop. It’s important to carefully follow the manufacturer’s instructions to ensure that the sink is properly installed and sealed to prevent any water damage. With some basic plumbing skills and a few tools, the installation of a farmhouse sink can be a manageable DIY project for homeowners looking to enhance their kitchen’s aesthetic appeal.
Sherita Silvers
To the thesinkboutique.com webmaster, Your posts are always informative.
Taylor Abrams
I had no idea that, due to size similarities and the ability to just slip it in after removing the old sink, most farmhouse sinks, also known as apron-front sinks, could readily replace your present kitchen sink. This is helpful to know since I want to renovate my kitchen next month. I feel like it’d be great to do that so I’ll make sure I hire a good sink installation drainage service. https://newpipeplumbingfl.com/sink-drainage
baidon
Get all the needed tools available and be very careful while working with the woods or any other tools. There is however some farmhouse sink that has a recess between the body of the sink and the frontal overhang.
Measure the overhang and if its ¾ inch of more does not bother cutting off the ¾ piece on the face frame of the cabinet and as such, the recess of the farmhouse sink will be positioned on it.
baidon
I have read your article a few times. Liked it very much. I read another article and your article is very good from that article. However, his image is good.